#
Getting Started
This guide takes you through setting up your first project and getting your first asset delivered using the Beam platform. There are four steps to this tutorial:
Create a Beam Image Slot in the web app. Position the Image Slot in your experience using your game engine of choice. Upload and assign an image to the slot. Run the game and see the image.
#
Creating a Beam Image Slot
First, go to the Beam alpha site, then sign in with your Beam credentials. Once you're in, click the Projects tab
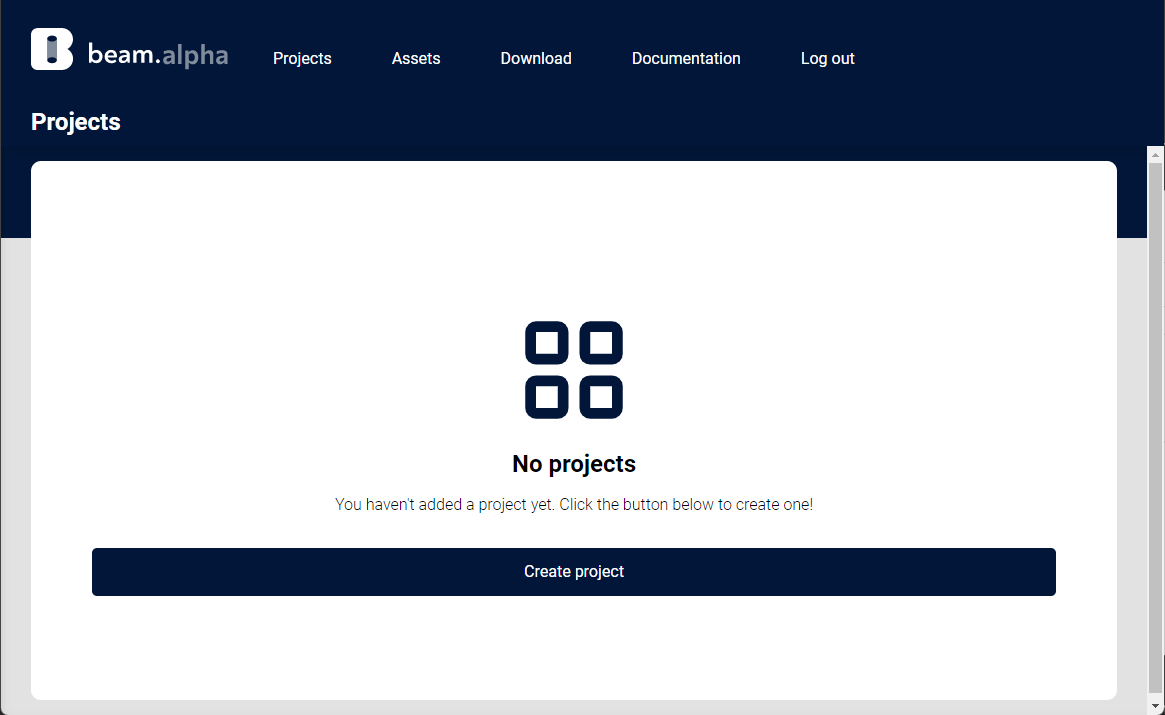
And then click the Create project button
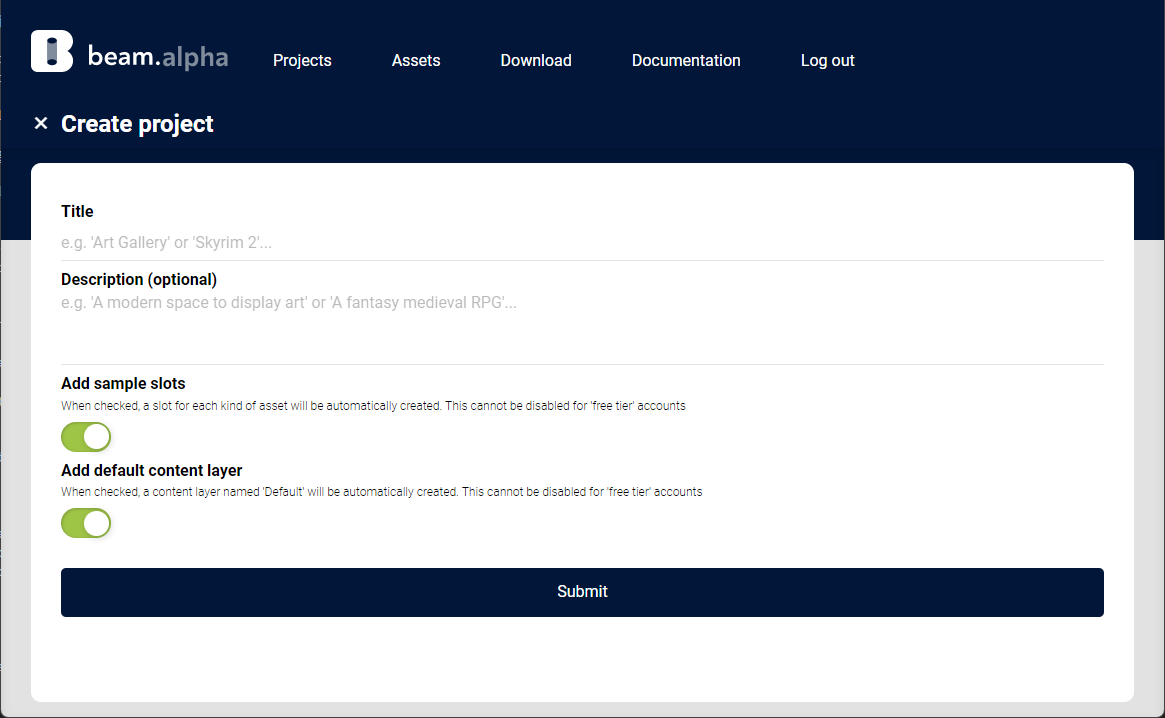
Give your Project a name, and optionally add a description, then hit the submit button. This will create your project, create 4 example Slots and a Content Layer to allow you to assign content.
For the purposes of the Alpha test, the 'Add sample slots' and 'Add default content layer' cannot be disabled. If you'd like more advanced customisability just drop us an email at hello@beam3d.co and we'll be happy to get you access to the fully featured version!
After we've finished setting up your project and the related data you'll be sent to the project page which is where you'll do most of the interaction with your experience.
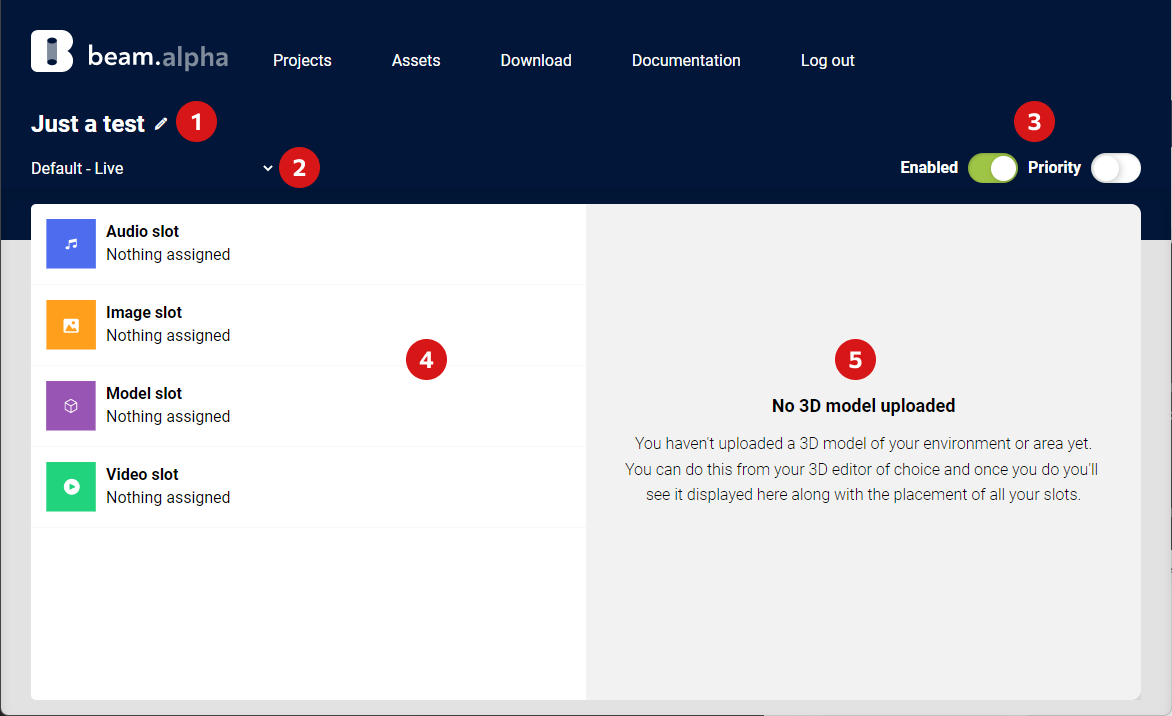
A quick overview of the features here:
- The pencil icon will take you to a page where you can edit the title and description of your project.
- This drop down lets you change the Content Layer you are assigning content to. For the purposes of the Alpha, you currently cannot create more than one.
- These switches let you toggle the current Content Layers enabled flag (if disabled, no content will be delivered) and priority flag (if enabled, it will be delivered above any other Content Layer)
- Clicking on any of the Slots here will let you assign content to the slot of the relevant type
- If you use the upload environment feature in your 3D editor you will see a wireframe represention of it here
For now, let's upload and assign an image to the 'Image slot'. To do this, hover over (or tap on mobile) and click the change button that appears. From the popup choose 'New Asset'

Now click the 'Choose image' button. You will then see an interface provided by your system allowing you to take an image straight from your camera or browse your system for one. We'll browse and choose an appropriate image for now.
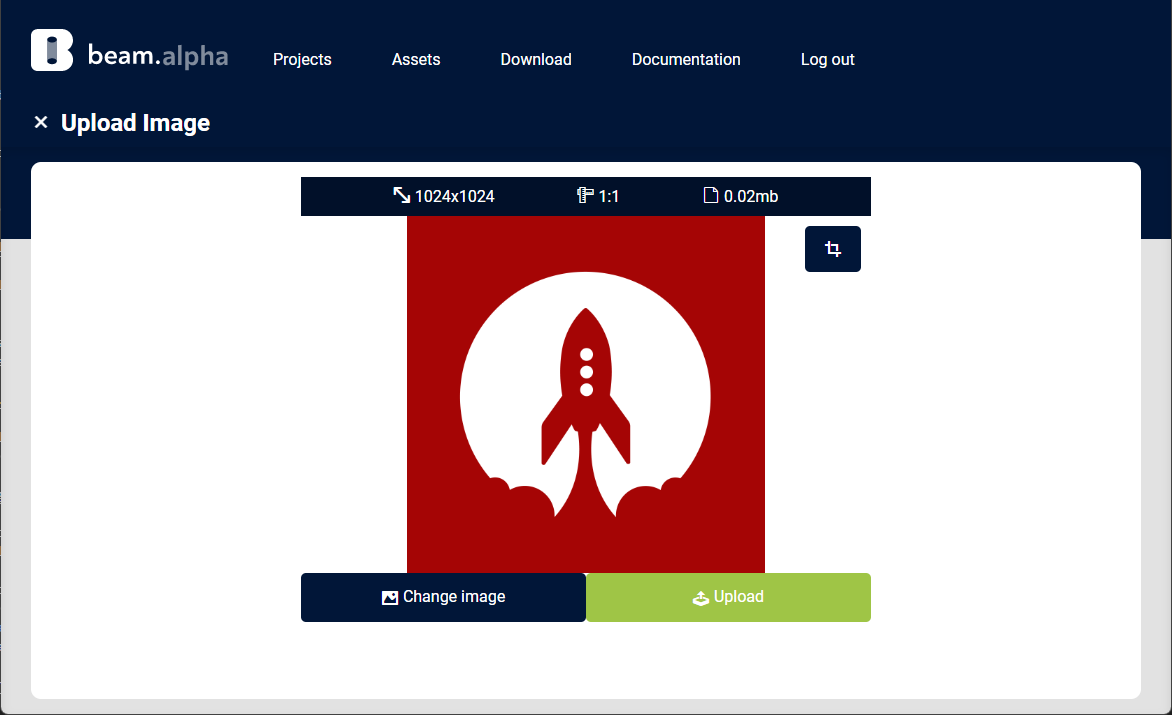
From here you'll see various information. The top bar gives you some information about the file, which will be unique to the type of file you've chosen. If you select an image with an aspect ratio we don't support you'll be asked to crop it to one of the ones we do support. If you're happy with the image chosen, click the green 'Upload' button.
Once the image is uploaded, enter a unique title in the title text box and hit 'Submit'
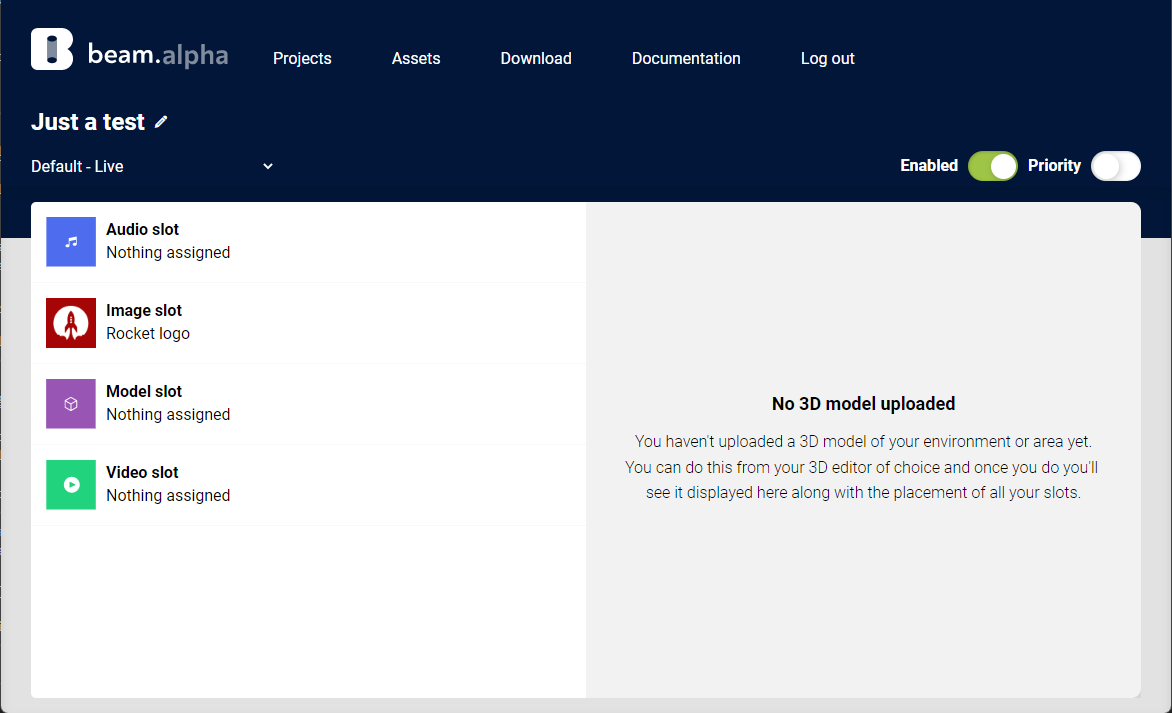
After a short processing delay you'll see the Image slot now has your uploaded image and the chosen name. We're now ready to set up your 3D engine!
#
Position the slot in a game engine
Select your engine
Create a 3D project in Unity and install the plugin if you haven't already. Click here for instructions.
It is recommended to use the latest Unity 2021 LTS version.
Click the Beam item on the tool bar and open the Beam Dashboard.
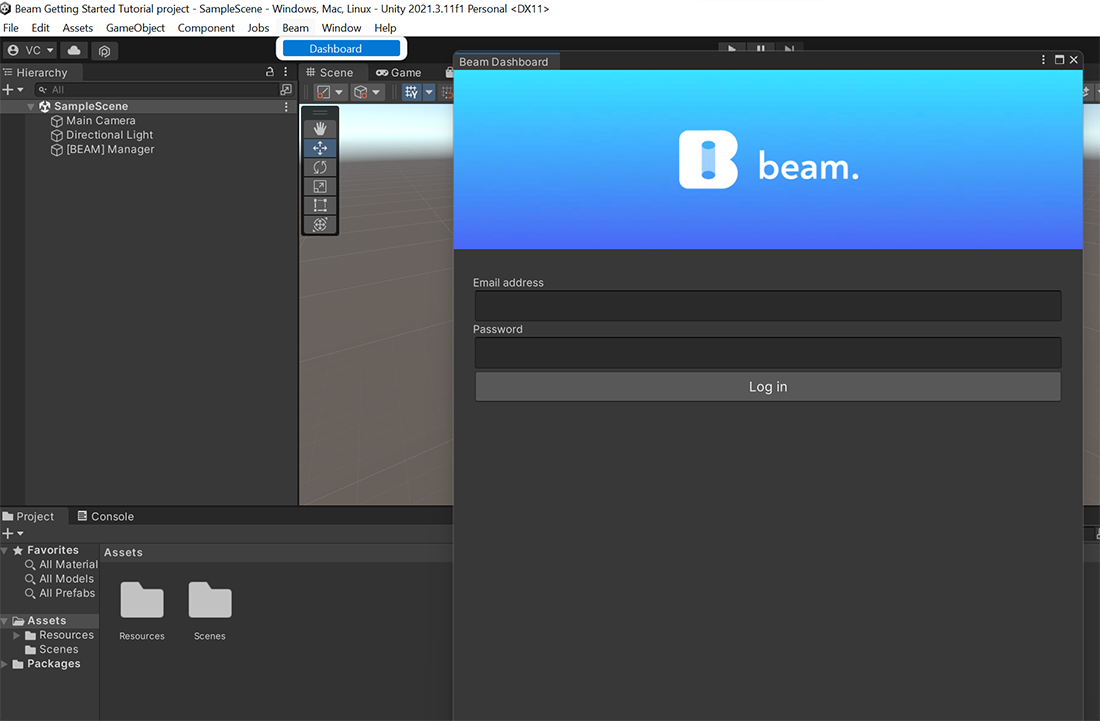
Sign in with the same credentials as you logged into the web with. This creates a developer session and will securely pull down an API key so that when you run the game it can fetch content securely.
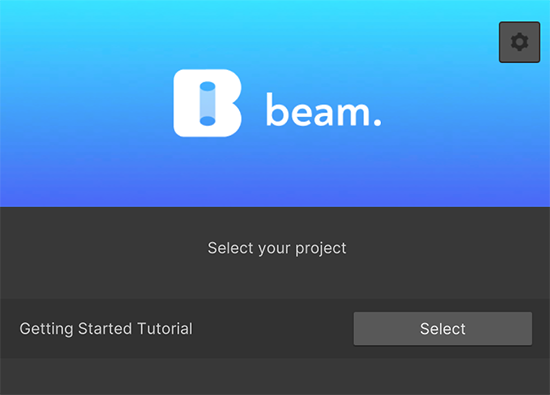
Once you've signed in you will see a list of all the projects in the account. If this is your first time using Beam. there will only be the one with the name matching the project you created in thee web, which we made in an earlier step.
Click on that project, and you'll see four options - Image, Video, ThreeDimensional, and Audio. These correspond to the slot types you can create in the web. Click on Image, and you'll see an single item in the list called "Image Slot". This is the slot we made earlier.
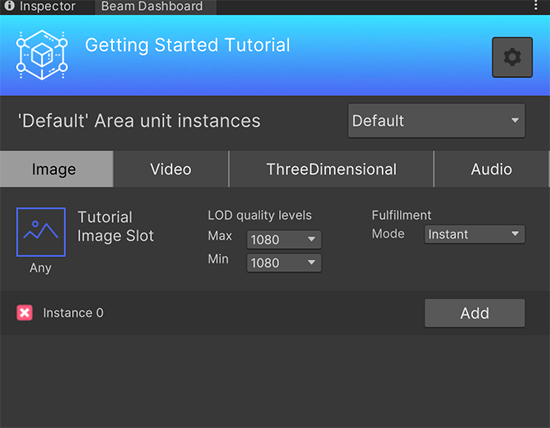
Press the "Add" button to insert it into the scene at the position of whatever is currently highlighted, or 0,0,0 in worldspace if nothing is selected in the heirarchy window. This will create the following GameObjects in the open scene.
- [BEAM] Manager: this contains manager scripts for the fetching the content, setting area boundaries, starting the session at runtime, and analytics. There will only be one BEAM Manager object per scene.
- [BEAM] Image - Tutorial Image Slot: this object is where any image we assign to the slot will be delivered to. We can move, rotate, and scale this using the built-in Unity tools and the image will be beamed into the new position.
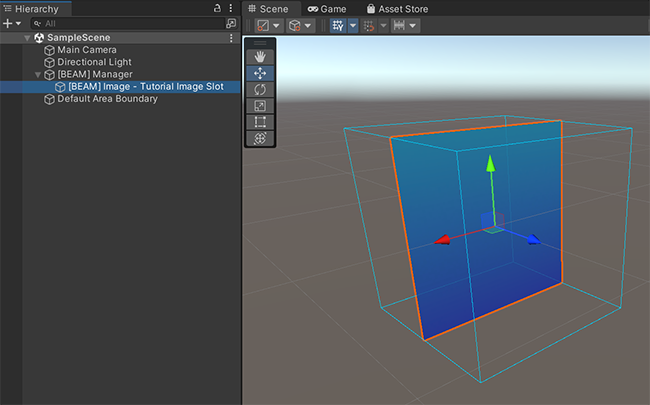
Select the [BEAM] Image - Tutorial Image Slot from the heirarchy window, and position it so that the Main Camera is facing it. Note that by default images are one-directional, so ensure that the blue side is facing the camera.
Hit the "Run" button at the top of the screen and...
And that's it! The process is the same for videos, audio, and even 3D. You're now ready to start Beaming! If you're a developer and you'd like to read some more, head to the Plugins section for more guides and descriptions of some of the more advanced use cases Beam lets you implement.
Coming soon!